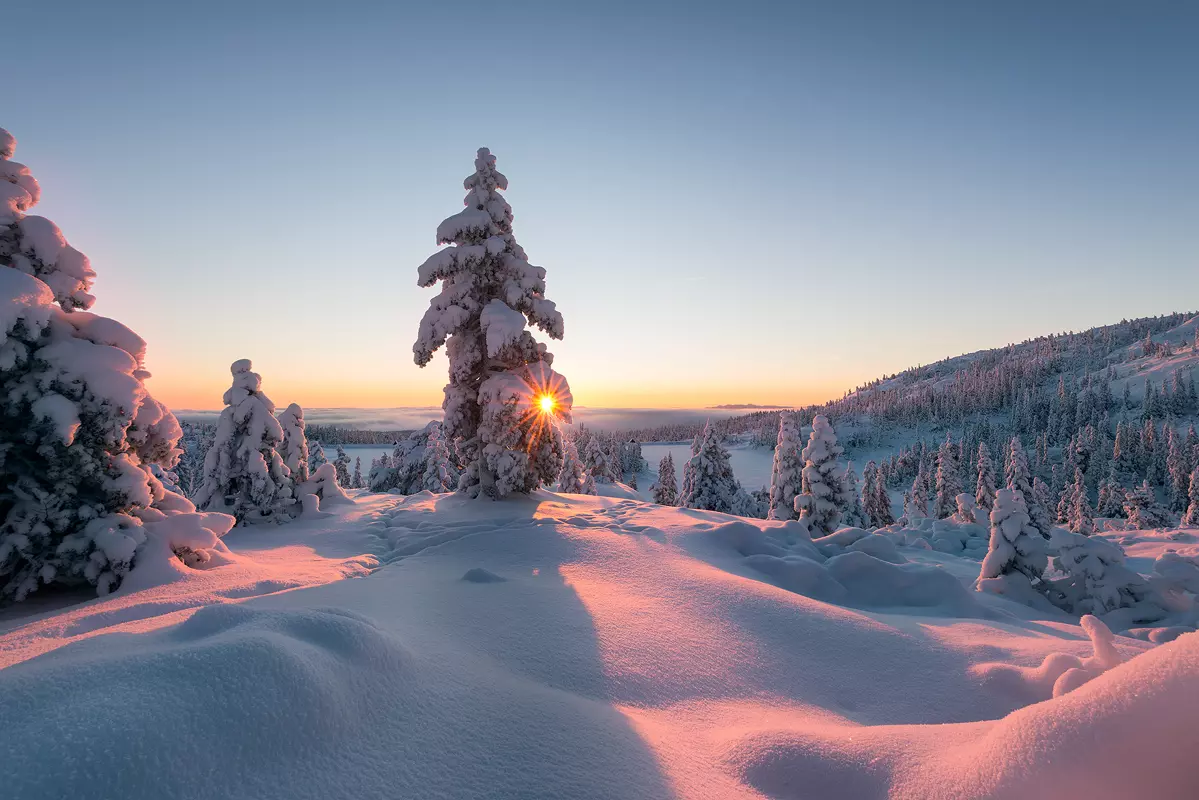
Winter is just around the corner, offering the perfect chance to create memories with friends and family through snow photography. Snow-covered landscapes, festive decorations, and holiday gatherings bring moments worth capturing.
Photographing snow is not always easy. Cameras often struggle with the brightness, batteries drain faster in the cold, and your fingers might feel frozen before you get the shot you want.
It can feel frustrating when the scene in front of you does not match the photo on your screen. With some preparation and a few easy techniques, though, you can overcome these challenges and make your winter pictures stand out.
This guide is for anyone who wants better winter photos, no matter what kind of camera they have. It will cover how to prepare, fix common issues, and even use the latest tools to explore creative ideas.
Prepare Your Gear
| Essential Gear for Snow Photography | Description |
| DSLR or Mirrorless Camera | Provides manual control over settings to handle snow’s brightness and details. |
| Weather-Sealed Lenses | Protects against moisture and cold, ensuring optimal performance in snowy conditions. |
| Tripod with Stable Legs | Essential for long exposures and sharp images in low-light winter scenes. |
| Polarizing Filter | Reduces glare from snow and enhances the contrast in snowy landscapes. |
| Extra Batteries | Cold weather drains batteries quickly; carrying spares ensures you do not miss any moments. |
| Waterproof Camera Bag | Keeps your gear safe and dry while navigating snowy or wet environments. |
| Lens Cleaning Kit | Removes snowflakes or moisture to maintain clear images during a shoot. |
| Warm Clothing with Touchscreen Gloves | Keeps you warm and allows easy camera adjustments without removing gloves. |
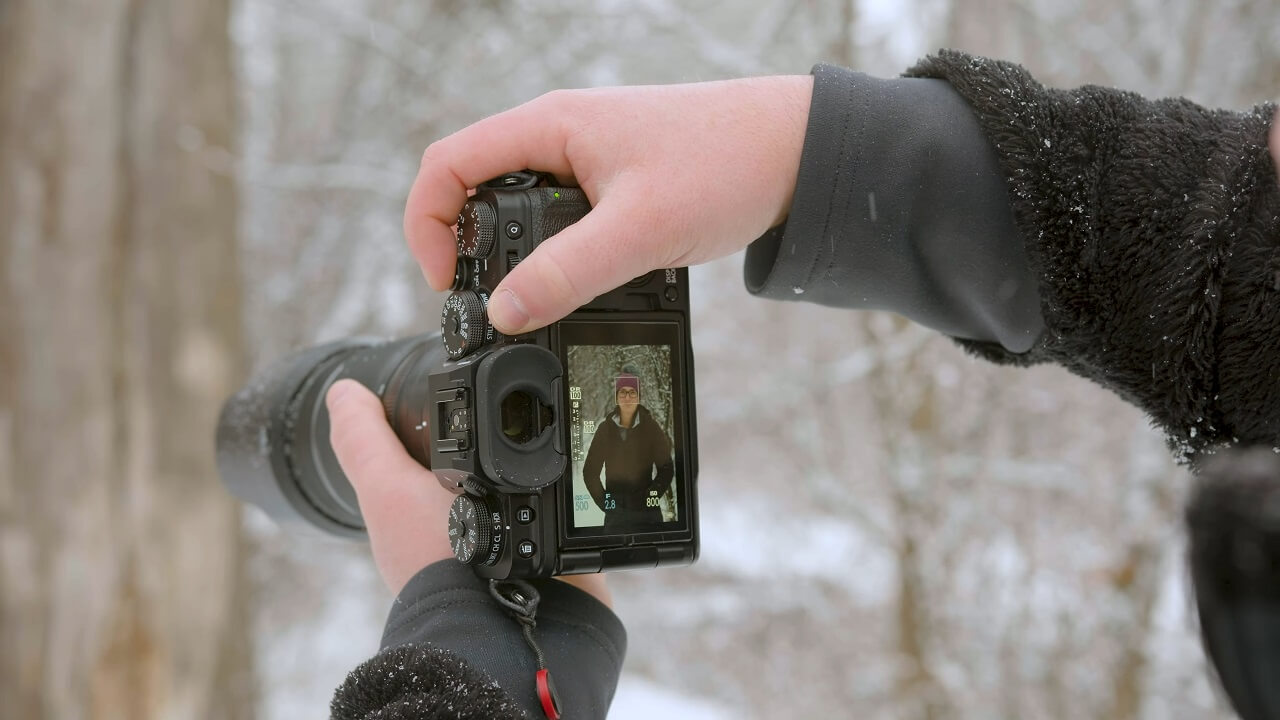
To make the most of snow photography, having the right gear is essential. Start with a high-quality DSLR or mirrorless camera, such as the Canon EOS R6 or Sony A7 III, which provide excellent control over settings like ISO, shutter speed, and aperture, crucial for handling snow’s reflective brightness.
Winter photoshoot ideas can be expanded creatively using modern AI tools which can elevate your images by correcting exposure issues, enhancing snowy textures, or even simulating sunlight for added warmth in compositions. So, the combination of the right camera and proper software is the shortcut to making the perfect snow photography.
Pair your camera with weather-sealed lenses like the Nikon NIKKOR Z 24-70mm f/2.8 or Tamron 70-200mm f/2.8, which withstand cold and moisture, ensuring reliability in snowy conditions.
A sturdy tripod, such as the Manfrotto Befree Advanced, is a must for long exposures and sharp landscape shots, especially in dim winter light.
Adding a polarizing filter, like the Hoya Pro1 Digital Polarizer, helps reduce glare from the snow and makes colors pop.
Carrying extra batteries, like Canon LP-E6NH or Sony NP-FZ100, is non-negotiable, as cold temperatures significantly shorten battery life. Keep them warm in an inner pocket to extend their longevity.
Protect your gear with a waterproof camera bag, such as the Lowepro Whistler Backpack 350 AW, designed to keep your equipment dry and safe from snow.
For on-the-spot lens cleaning, kits like the Giottos Rocket Air Blaster and Zeiss Lens Wipes are excellent for removing snowflakes or moisture that can obscure your shots.
Wearing the right clothing is equally important. Invest in warm, functional layers and opt for touchscreen gloves, like Vallerret Markhof Pro V3 Photography Gloves, which allow you to handle your camera without exposing your fingers to the cold.
Also read: Third-Party Filters No Longer Available on Instagram
Set Your Camera for Winter Conditions
Snow photography requires specific adjustments to your camera settings to handle the unique challenges of bright, reflective landscapes. Without proper changes, your photos might turn out dull, gray, or overly bright.
- Adjust Exposure Compensation: Increase the exposure by +1 to +2 stops to prevent snow from looking gray. Snow reflects a lot of light, and this adjustment ensures your photos appear naturally bright without overexposing details.
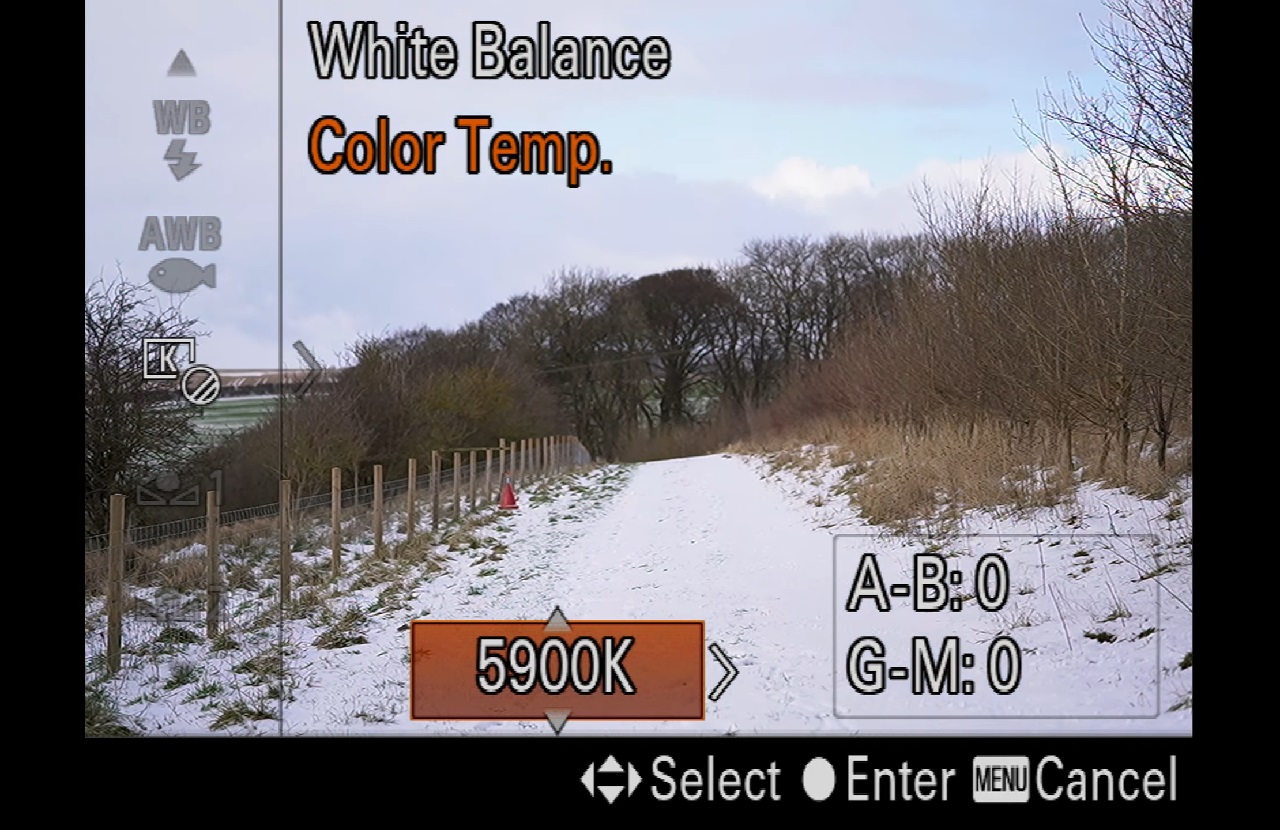
- Set White Balance Manually: Avoid auto white balance, as snow often appears bluish. Use the “daylight” or “cloudy” preset, or set the color temperature manually between 5000–6500K for accurate tones. Shooting in RAW is ideal for fine-tuning during editing.
- Use Low ISO: Select ISO 100 or 200 to reduce noise and maintain sharpness in your photos. This works best for capturing snowy landscapes or bright daylight conditions.
- Choose a Narrow Aperture: Use an aperture like f/8 to f/16 to ensure a larger depth of field, keeping most of the scene in focus. This is especially useful for capturing sweeping landscapes.
- Set Your Shutter Speed: Adjust based on the situation. For falling snow, use a faster shutter speed (1/500 or higher) to freeze motion, or slow it down (around 1/30) to create a soft, blurred effect.
- Switch to Single-Point Autofocus: Focus precisely on your subject to avoid the camera accidentally locking onto snowflakes or irrelevant parts of the scene.
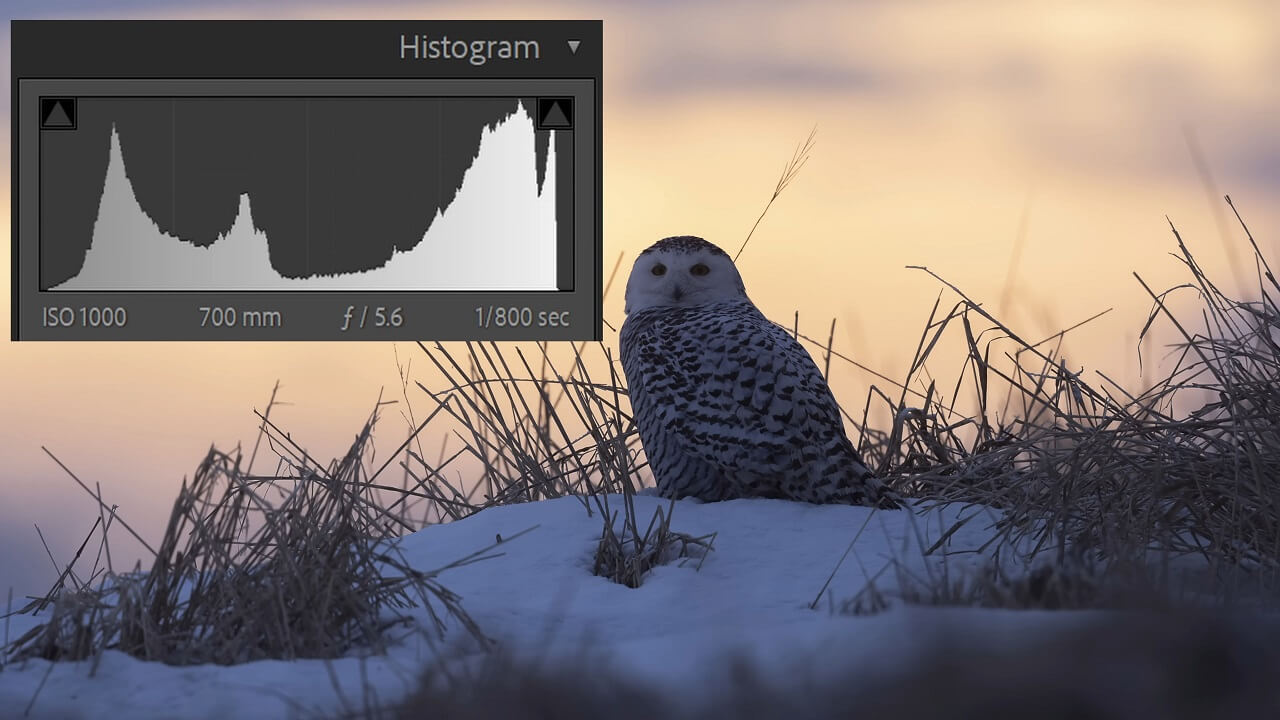
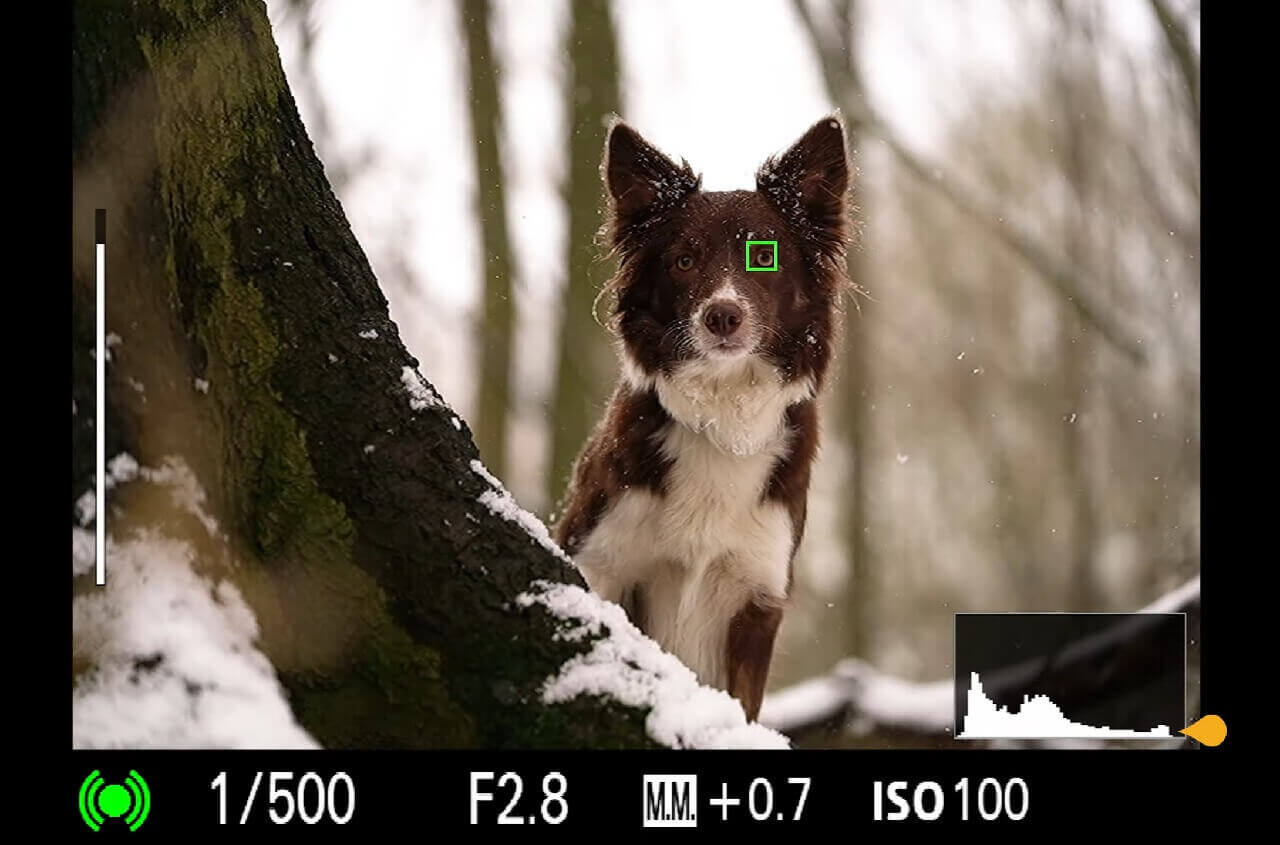
- Check the Histogram: Use the histogram to evaluate exposure levels. A good snow photo usually shows a peak on the right side, indicating bright areas without losing detail. Adjust exposure to prevent clipping at the edges of the graph.
Timing is Essential For Perfect Snow Photography
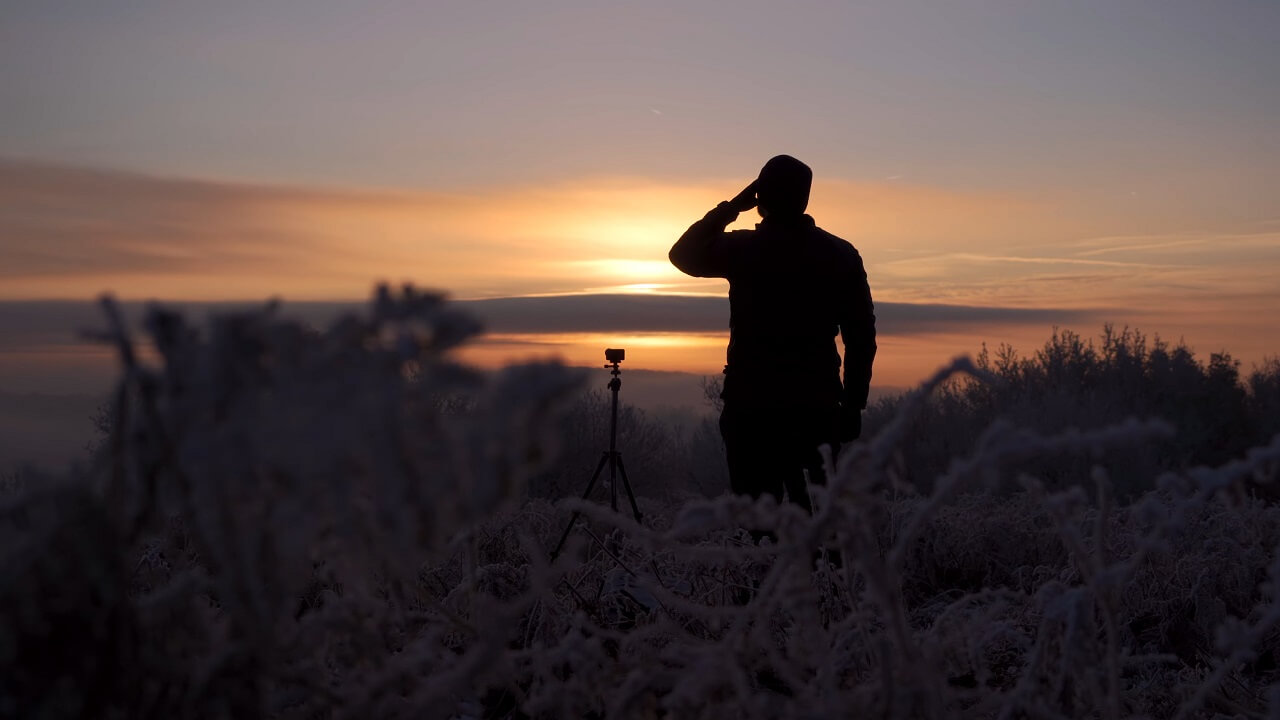
The right light, weather, and conditions can transform ordinary snow photography into something magical. Snow looks different depending on the time of day and weather, so planning ahead can make a big difference in your photos.
Early morning is one of the best times to shoot. Fresh snow often glistens in soft, golden light just after sunrise. This is when the snow is still untouched, giving you a clean and pristine canvas. Late afternoon, especially during golden hour, offers warm light that contrasts beautifully with the cold tones of snow, adding depth and emotion to your images. If you are looking for dramatic effects, overcast days can be great too. The diffused light eliminates harsh shadows, highlighting the soft textures of the snow.
Pay attention to the weather forecast. Fresh snowfall can make a huge difference, creating a dreamy atmosphere and covering imperfections like muddy patches or old tracks. A clear, sunny day after a storm creates strong contrasts between the bright snow and deep blue skies, while gently falling snow adds movement and life to your photos.
Take advantage of unique moments, like snow-covered trees during a quiet snowfall, frost-covered windows in the morning, or even reflections in icy puddles.
Handle Light Challenges
Snow reflects a ton of light, which makes it hard for cameras to handle the scene properly. Photos can end up looking gray, dull, or completely washed out.
This is not your fault—it is just how cameras work. But with some simple adjustments, you can take control and make your snow photography look great.
Here are some tips to deal with light in snowy conditions:
- Adjust the Exposure: Cameras tend to darken snowy scenes too much. Use exposure compensation and increase it by +1 or +2 stops to make the snow appear bright and clean.
- Check the Histogram: The screen on your camera is not always reliable. Use the histogram to make sure the brightness levels are right. Peaks should lean toward the right side without going off the edge, which would mean losing details in the highlights.
- Shoot in RAW Format: This setting saves more details, letting you fix brightness and contrast later without losing quality. It is helpful if your photo turns out too dark or bright.
- Use a Polarizing Filter: A polarizing filter reduces glare from the snow and makes colors stand out, especially on sunny days with blue skies.
- Choose the Right Time: Early morning or late afternoon light is softer and warmer, creating better contrast and shadows. Avoid shooting in harsh midday light, which can make snow look flat.
- Set White Balance Manually: Snow often looks bluish in photos. Use a “daylight” or “cloudy” preset, or manually adjust to a color temperature between 5000–6500K for more natural tones.
Focus on Composition
The snowy landscape might look amazing in person, but your snow photography needs strong elements to keep it interesting.
Without a good composition, even the prettiest winter scene can feel flat and boring. Do not worry; it is not hard to fix this with a few simple steps.
- Look for a Focal Point: Every photo needs something for the eye to focus on. It could be a lone tree in a snowy field, a person walking in the distance, or even footprints leading through the snow.
- Use Leading Lines: Snow-covered paths, fences, or rivers make natural lines that guide the viewer’s eyes through your photo. This adds depth and makes the scene feel more dynamic.
- Frame Your Shot: Use natural elements like tree branches, doorways, or windows to frame the main subject. This creates a sense of focus and draws attention to the part of the scene you want people to notice.
- Add Contrast: Snow is bright and white, so look for darker elements like trees, buildings, or even people in colorful jackets to break up the scene and make it more visually interesting.
- Use the Rule of Thirds: Divide your frame into a 3×3 grid and place the most important part of your photo at one of the intersections. This simple technique makes the composition feel balanced.
- Play with Scale: Show how big or small something is compared to its surroundings. For example, a person standing next to a massive snow-covered mountain creates a dramatic sense of scale.
- Include Textures: Smooth snow, frosted trees, or ripples in icy water add texture to your photo. Textures make your shot feel more alive and give it a sense of detail.
Learn How to Capture Motion
Movement creates energy and makes a scene feel more dynamic, whether it is falling snow, running water, or someone skiing downhill.
Capturing motion in winter landscapes might seem tricky, but with the right settings and a bit of patience, you can get stunning results – a perfect Snow photography that will become a screensaver on your laptop maybe, or a family photo that you will keep in a wall.
- Freeze the Action: Use a fast shutter speed (1/500 or higher) to capture clear, sharp images of moving subjects like falling snow, running kids, or wildlife. This is great for action shots where you want everything to stay crisp.
- Blur for Effect: For a soft, dreamy look, slow down your shutter speed (around 1/30 or slower). This works well for falling snow, streams, or waving tree branches. Use a tripod to keep the rest of the scene sharp while motion blurs beautifully.
- Track Your Subject: For moving subjects like skiers or animals, use continuous autofocus mode to keep the subject sharp as it moves. Panning your camera while following the subject can also create a cool motion blur effect in the background.
- Use Burst Mode: If you are unsure about timing, switch to burst mode. This takes multiple shots in quick succession, increasing your chances of getting the perfect moment.
- Add a Human Element: People sledding, ice skating, or simply walking through falling snow add a sense of movement and emotion to your photo. It also gives your scene a relatable story.
- Combine Motion and Stillness: Contrast makes a photo more interesting. Capture something in motion—like a stream—while keeping the rest of the scene still, such as snow-covered rocks or trees. This balance creates depth and focus.
- Adjust for Low Light: Winter days are short, and light fades quickly. Use a wider aperture (like f/2.8) or a higher ISO to maintain proper exposure without sacrificing motion detail.
Don’t Forget to Protect Your Equipment in Cold Weather
Snow, moisture, and freezing temperatures can affect how your camera functions, drain batteries quickly, and even cause condensation that might harm sensitive parts of your gear. Taking a few steps to protect your equipment can save you a lot of trouble and keep everything running smoothly.
- Use a Weather-Sealed Camera and Lenses: Cameras and lenses with weather sealing are designed to handle moisture and cold better. If your gear is not weather-sealed, consider using a rain cover or plastic bag for protection.
- Keep Gear Dry: Snow can melt and seep into your camera, causing damage. Always carry a microfiber cloth or lens wipes to dry your camera and lens.
- Avoid Sudden Temperature Changes: Moving from cold outdoor conditions to a warm indoor environment can cause condensation inside your camera. Place your camera in a sealed plastic bag before going inside to let it warm up gradually.
- Carry Extra Batteries: Cold temperatures drain batteries quickly. Keep spare batteries in an inner pocket close to your body to keep them warm. Rotate them out as needed to ensure you always have power.
- Use a Lens Hood: A lens hood helps keep snowflakes from landing on your lens and reduces glare from bright sunlight reflecting off the snow.
- Avoid Breathing on Your Lens: Breathing on your lens to clean it can cause frost or condensation.
- Be Mindful of Tripod Use: Metal tripods can become extremely cold and difficult to handle. Use gloves with good grip and consider foam tripod leg covers to make handling easier in freezing conditions.
- Pack a Small Towel or Cloth: Snow or ice can end up on your gear when setting it down. A towel helps you dry it off quickly before any damage occurs.
Explore Unique Angles and Perspectives
Changing how you view a scene can reveal details you might otherwise miss and turn an ordinary shot into something extraordinary. Here are some tips for perfect snow photography.
- Get Low to the Ground: Shooting from a low angle can make snow-covered objects like trees or footprints look more dramatic. It also adds a sense of scale and pulls the viewer into the scene.
- Shoot from Above: If you have access to a high vantage point, like a hill or balcony, capture the scene from above. This perspective can showcase patterns in the snow, like winding paths or tracks.
- Focus on Details: Instead of wide landscapes, zoom in on smaller details, like frost on leaves, snowflakes on a window, or icicles hanging from a roof. These close-up shots add texture and tell a different story.
- Use Reflections: Look for reflections in icy puddles, frozen lakes, or windows. Reflections add symmetry and depth, making the photo more visually interesting.
- Play with Shadows: Winter sunlight is lower in the sky, creating long shadows. Use these shadows to create patterns or lead the viewer’s eye through the frame.
- Include Foreground Elements: Adding something in the foreground, like a snow-covered branch or a rock, creates layers in your photo and makes it feel more three-dimensional.
- Experiment with Framing: Use natural elements like tree branches, doorways, or arches to frame your subject. This draws attention to the main focal point and gives your photo a sense of structure.
- Try Different Heights: Move up, down, or sideways to see how the perspective changes the story of the photo. A simple shift can completely alter how a scene feels.
FAQs
How do I capture snowflakes up close?
Use a macro lens or a smartphone macro attachment to focus on the intricate details. Hold a black glove or dark fabric under falling snowflakes to make them stand out and keep the background simple.
What is the easiest way to photograph falling snow?
A fast shutter speed freezes snowflakes in mid-air, while a slower shutter speed creates a blurred, soft effect. Experiment with both to see what fits the mood you want to capture.
How can I make snowy skies look more interesting?
Include something like tall trees, buildings, or mountains in the frame to break up the plain sky. A polarizing filter can also enhance colors and contrast.
How do I prevent my camera from freezing up in extreme cold?
Keep your camera warm in a padded bag when not in use. Use hand warmers near your gear, and avoid turning it on and off repeatedly to prevent mechanical issues.
How do I keep my camera lens from fogging when shooting in cold weather?
Keep your camera in a sealed plastic bag before moving between cold and warm environments. Let it warm up gradually indoors before opening the bag to avoid condensation forming on the lens.
Final Thoughts
Snow photography is a chance to capture the beauty and magic of winter in ways that feel timeless.
With the right gear, thoughtful settings, and creative approaches, anyone can create stunning images that stand out.
Whether it is a quiet snowy morning, playful moments with loved ones, or dramatic landscapes, the possibilities are endless.
Remember to stay prepared for the cold, experiment with different techniques, and most importantly, enjoy the process.


